How to Generate Partner Statements and PDF Reports in FleetSnap
Step-by-step: generate co-host statements, build a custom monthly, partner, or annual report, download PDFs and the accountant export, compare periods, and find your past uploads. Every button named exactly as it appears in the FleetSnap Turo Earnings dashboard. Free plan: 3 reports per calendar month; unlimited on Fleetsnap Pro and Concierge.
 By The FleetSnap Team·6 min read
In this guide
FleetSnap turns your imported Turo earnings into documents you can hand to someone: a statement for each co-host, a monthly or annual PDF for your records, and a CSV bundle for your accountant. This guide walks the Statements tab and the Report Builder, names every button exactly as it appears, and covers the period controls and upload history that feed them.
Step 1 - Open Statements
Go to fleetsnap.ai/turo-earnings, sign in, and click Statements in the side navigation. Statements has four sections top to bottom: Partner statements, All splits, Reports & exports, and Branding.
Step 2 - Generate a partner statement
The first card is headed Partner statements with the title "Generate this month's statements". It tells you how many partners are configured (and how many are archived). Click "Generate statements".
The Report Builder opens with Partner Statement already selected:
- Period (required): choose Single Month and pick a month, or Date Range and set Start Month and End Month.
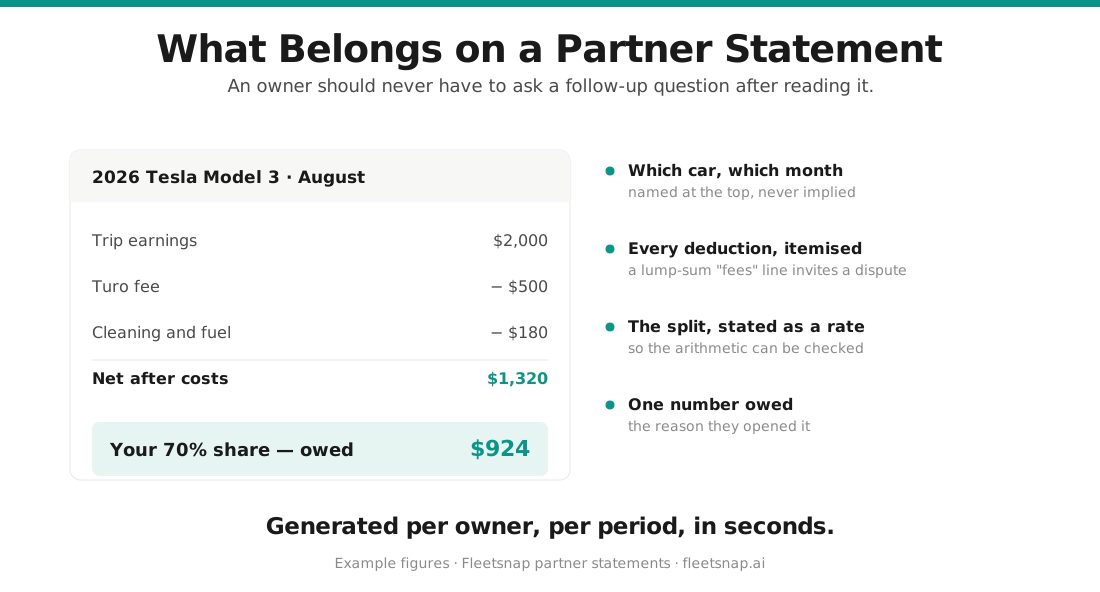
- Partner Name: choose the co-host. You can fill in Partner Email and Partner Phone so they print on the statement.
- Click Download PDF. Preview Report shows it on screen first; on the free plan the preview is blurred and only the download is available.
If you have no partners yet, "Generate statements" is disabled and the card says Set up partner splits on your vehicles first.
Step 3 - Check splits before you send
All splits is a read-only view of every co-host vehicle. Each partner card lists their Vehicles and "Their share (avg)". Click "Edit splits" to open the split editor and adjust the Host % per vehicle. "End partnership" archives the partner; their statements and history stay, and they show an Archived badge on Fleet P&L.
Step 4 - Build a custom report
The Report Builder (subtitle Create custom reports for sharing with co-hosts or for your records) has three Report Type buttons:
- Monthly - pick a month under Select Month, then optionally narrow Select Vehicles.
- Partner Statement - as in Step 2.
- Annual Report - Date Range (Optional) with Start Month and End Month; leave it blank for the full year. Annual Report Includes: Executive summary with total profit, Host Payout vs Partner Payout breakdown, top 5 and bottom 5 performing vehicles, Partner Payout by vehicle, and a monthly performance table.
Click Preview Report to see it, then Download PDF. In the preview, Back to Edit returns you to the settings. The builder shows Credits available with your remaining count, or Unlimited downloads on a paid plan.
Step 5 - Download ready-made PDFs and the accountant export
Under Reports & exports (Download polished PDFs to share with partners or your accountant):
- Earnings Summary - total earnings, vehicle counts, monthly breakdown. Click Download PDF.
- Vehicle Report - per-vehicle trips, days booked, earnings, and utilization. Click Download PDF.
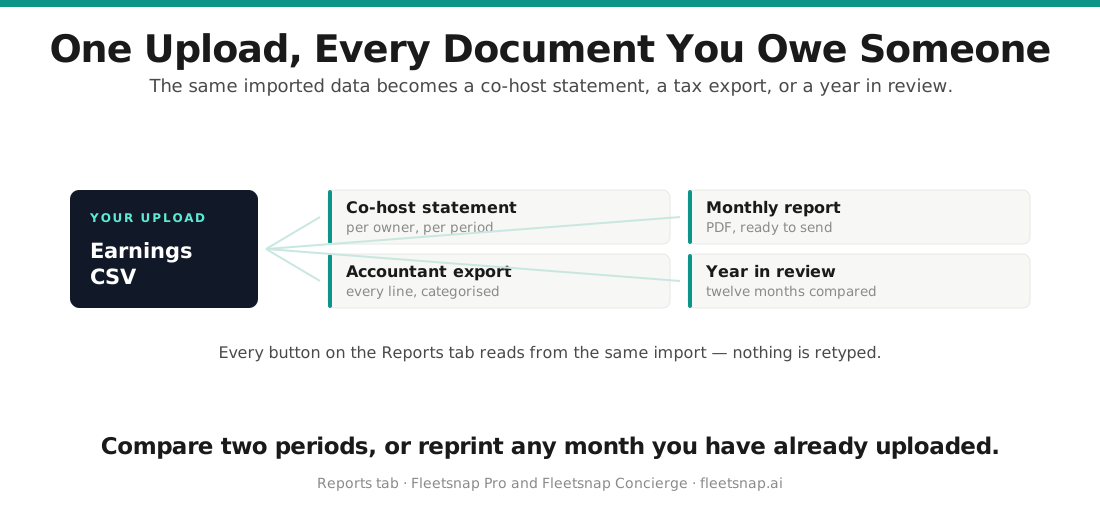
- Accountant Export - click Export 4 CSVs for a bundle of earnings, expenses, vehicles, and trips your accountant can drop straight into a spreadsheet: tax-ready, itemized, and categorized.
This is the place to get a report for your accountant: the CSV bundle for their spreadsheet, or the Annual Report PDF for a one-page summary.
Step 6 - Branding
Under Branding, set your Company name and click Save (you'll see Saved - applies to all reports and exports). Logo upload is a paid feature: Pro and Concierge accounts get Upload logo (then Replace logo / Remove); until one is added the preview reads "No logo yet". If you're not signed in you'll see "Sign in to save your logo."
Changing the date range and comparing periods
The "Select period" dropdown in the top bar sets the window for every tab: a single month, a quarter, a year, or All Time. Reports you build use their own period picker inside the Report Builder.
To compare two months, open the Monthly or Vehicles tab and click Compare in the top bar. The dropdown switches to checkboxes; tick two or more periods. The "Period Comparison" panel appears with an "Earnings by Period" chart and a "Per-Vehicle Comparison" table. Until you've ticked two it reads "Select 2 or more periods to compare". Click Compare again to leave compare mode.
Finding your past uploads
In the dashboard top bar, next to "Import New Earnings" ("Import" on mobile), click the history icon labelled "Import history". The "Import History" list shows every CSV you've imported with its file name, trip count, and upload date, and lets you remove one. The Settings tab repeats the list under "CSV uploads" with each file's date range.
Questions hosts ask
How do I generate a statement?
Open the Statements tab. Under "Partner statements", click "Generate statements". The Report Builder opens with Partner Statement selected: choose Single Month or Date Range (Start Month, End Month), pick the co-host under Partner Name, and click Download PDF. If you haven't set up any splits yet, the button is disabled - click "Edit splits" first.
How do I build a custom report?
In the Report Builder (opened from "Generate statements" on the Statements tab), choose a Report Type: Monthly, Partner Statement, or Annual Report. Set the period - for Annual Report the Date Range is optional, with Start Month and End Month - then click Preview Report and Download PDF. Back to Edit returns you to the settings. Annual Report includes an Executive summary with total profit and a Host Payout vs Partner Payout breakdown.
Where do I download a PDF report?
On the Statements tab under "Reports & exports": Earnings Summary and Vehicle Report each have a Download PDF button, and Accountant Export has Export 4 CSVs. For a partner statement or annual report, click "Generate statements" to open the Report Builder and use its Download PDF button. Each download counts toward the free plan's 3 reports per calendar month.
Where do I see my past uploads?
Click the history icon (labelled "Import history") next to "Import New Earnings" in the dashboard top bar. The "Import History" list shows each CSV you've imported with its trip count and upload date, and lets you remove one. The Settings tab also lists them under "CSV uploads".
How do I compare two months?
Open the Monthly or Vehicles tab and click Compare in the top bar. Tick two or more periods in the dropdown. The "Period Comparison" panel appears with "Earnings by Period" and "Per-Vehicle Comparison"; until you've picked two it reads "Select 2 or more periods to compare". Click Compare again to exit.
How do I change the date range?
Use the "Select period" dropdown in the top bar of the Turo Earnings dashboard. Pick a month, a quarter, a year, or All Time, and every tab updates to that window. Reports have their own period picker inside the Report Builder (Single Month, or Date Range with Start Month and End Month).
Where do I see how much I owe my co-host?
On the Fleet P&L tab, the "Fleet P&L Summary" card shows Partner Payout for the selected period, and the per-vehicle table has a Partner column. On the Statements tab, each partner card under "All splits" shows "Their share (avg)". For the itemised amount to pay, generate their partner statement with "Generate statements" and Download PDF.
How do I get a report for my accountant?
On the Statements tab under "Reports & exports", click Export 4 CSVs on the Accountant Export card. You get four CSVs - earnings, expenses, vehicles, and trips - itemized and categorized for a spreadsheet. For a single-page summary, build an Annual Report in the Report Builder and click Download PDF.