How to Import Your Turo Earnings Statement into FleetSnap
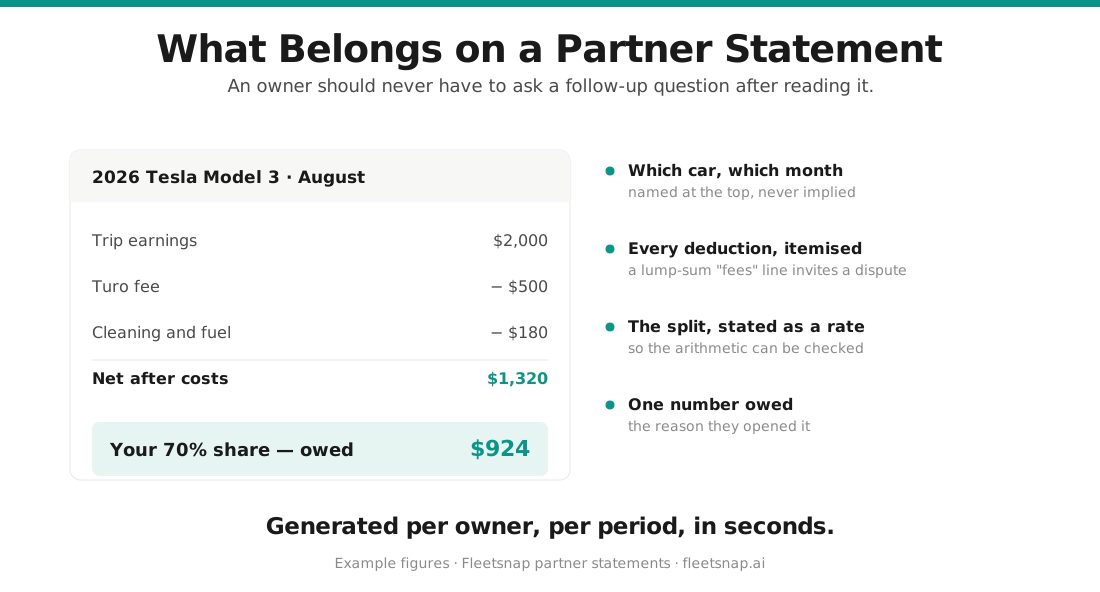
Step-by-step: export your trip earnings CSV from Turo and import it into FleetSnap to get true payouts after fees, per-vehicle profit, and partner statements. Free tool, no account needed to preview; unlimited on Fleetsnap Pro and Concierge.
 By The FleetSnap Team·5 min read
In this guide
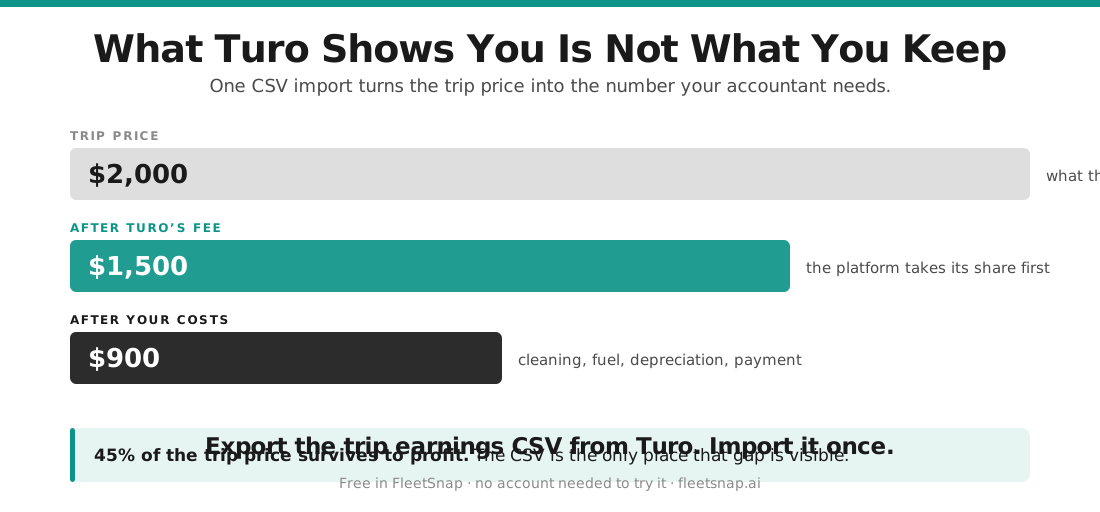
Turo pays you a lump sum and leaves the accounting to you. FleetSnap turns your trip earnings CSV into true payouts after Turo's fee, per-vehicle profit, monthly breakdowns, and clean partner statements you can hand to owners. This guide walks the whole import, naming every button exactly as it appears in the product.
Step 1 - Export your CSV from Turo
The import starts in Turo, not FleetSnap. In the FleetSnap upload area there's a "How to download your CSV from Turo ->" helper that spells this out:
- Log into your Turo host account
- Go to Earnings -> Trip earnings
- Set your date range and click "Export"
- Upload the downloaded CSV file into FleetSnap (next step)
A calendar month is the usual range to settle.
Step 2 - Upload it to FleetSnap
Go to fleetsnap.ai/turo-earnings. In the section headed "Drop in your Turo CSV, get your first statement", either:
- drag the file onto "Drag and drop your Turo CSV here" (it accepts a Turo trip earnings export (.csv)), or
- click "Browse Files" and choose the file.
FleetSnap parses it in about a minute ("Processing your earnings data..."). You do not need to log in to see this first result.
Step 3 - Confirm the numbers
FleetSnap shows "Here's what we found" - totals read straight from your data, no estimates. Click "Continue". On "Your data is loaded", click "Create Your First Partner Statement" to go into the setup wizard, or "Skip - explore the dashboard" to look around first.
Step 4 - Assign vehicles and costs
The first-run wizard has three checkpoints: Splits, Costs, Statement.
- Splits ("Set up your vehicles"): add any partners with "Add a partner". Vehicles you don't assign default to owned by you. Then "Confirm and continue" (or "Skip partners - continue" if you own everything).
- Costs ("Add your costs"): log expenses under the tabs "Recurring monthly", "One-time", and "Fleet-wide" so each cost lands on the right statement.
- Statement: if you're not signed in yet, you'll create a free account here to save your work ("Free forever - 3 reports/month - No credit card").
Step 5 - Read your dashboard
Once saved, the dashboard opens with these tabs down the side: Overview, Vehicles, Monthly, Fleet P&L, Statements, Costs & Income, Insights, Settings. Next month, add another CSV from the top bar with "Import New Earnings" ("Import" on a phone).
Questions hosts ask
Do I need a FleetSnap account to import my Turo CSV?
No - you can upload a Turo trip earnings CSV at fleetsnap.ai/turo-earnings and preview your first statement with no account. Saving your data and reaching the full dashboard requires a free account, which also gives you 3 reports per month.
Which Turo file do I upload?
The Trip earnings export. In Turo go to Earnings -> Trip earnings, set your date range, and click Export. FleetSnap needs the trip-level CSV (not a rolled-up monthly summary) to split earnings per vehicle and calculate net after Turo's fee.
How do I import a new month of earnings later?
From the earnings dashboard top bar, click "Import New Earnings" (labelled "Import" on mobile) and upload the new CSV. FleetSnap adds it to your existing data across the Overview, Monthly, and Statements tabs.
Is there a limit on how many statements I can generate?
The free plan allows 3 reports per calendar month at any fleet size. Fleetsnap Pro and Fleetsnap Concierge include unlimited statements, and standalone paid Earnings plans also lift the 3/month cap.
My upload didn't work - what should I check?
Make sure the file is the .csv you exported from Turo's Trip earnings page (not a PDF or a screenshot), and that it isn't empty. FleetSnap shows an error under the drop zone if it can't read the file; re-export from Turo and try again.